How to Create and Assign Codes?#
The code is characteristic of qualitative analysis software. You apply codes according to analytical logics defined by your research objectives.
Put simply: codes are boxes in which you place text excerpts so that you can return to them later.
Note that, in both the French- and English-speaking worlds, the terminology used across qualitative analysis software is neither harmonized nor consensual.
Drawing inspiration from REFI-QDA, a project that seeks to standardize terminology across applications, the term code was chosen for LibreQDA, along with the verbs coding/decoding.
Coded text passages are mainly referred to as selections. Depending on the context, they may also be referred to as extracts or references.
Code Tree#
The codes currently in use are listed on the left-hand side of the screen, in the form of a "tree," since parent codes and child codes can be created. These are codes that share a hierarchical relationship.
For example:
Code tree
├── motivations
│   ├── negative motivations
│   └── positive motivations
You can create as many levels of codes as you like, although in practice readability drops off quickly.
Creating Codes#
This video demonstrates how to create a code:
There are two main ways to create a code:
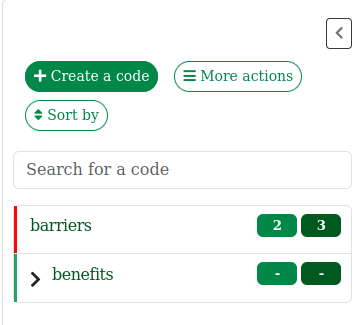
- Using the Create code button located in the top-left
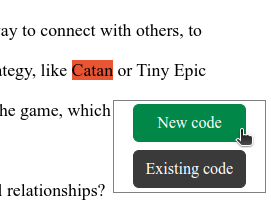
- Selecting a passage in the currently opened document and clicking on the Create code button that appears
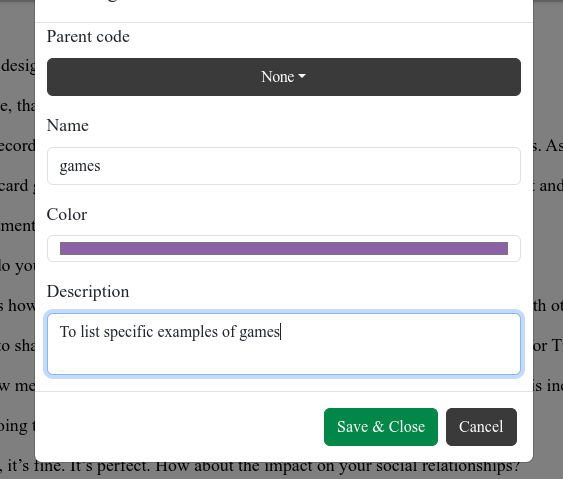
Advanced uses: Experiment with the import function (see Importing a Codebook) to create several codes at once, select colours for them or define a hierarchical relationship among them.
Nesting Codes#
As mentioned, codes can be related to one another. A code can be placed under another, creating a "parent-child" pair.
The usefulness of this feature depends on your objectives. In the example above (motivations > positive or negative motivations), it is used to list variations.
This can be done in several ways:
- Directly through the creation of a new code using the Parent Code button
- By right-clicking on an existing code to access the classification options
- By dragging and dropping a code under another one on the list
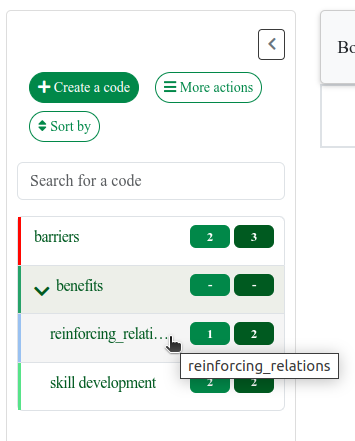
Tip: To see the full classification of codes, use the Expand button or More Actions.
Encoding#
The primary function of LibreQDA is to code text selections, that is, to associate text segments with one or more thematic codes in order to quickly retrieve them. To code a passage from an open document, hold down the left mouse button and drag to select the desired text.
A selection can be coded in two ways:
- Click on the appropriate option among the buttons that appear to create or select an existing code.
- Drag and drop the selection onto a code listed on the left-hand side of the screen.
You can code a passage with several codes at the same time. A single coloured stripe will appear under the passage.
You can also code a passage on separate occasions. Several coloured stripes will overlap under the passage.
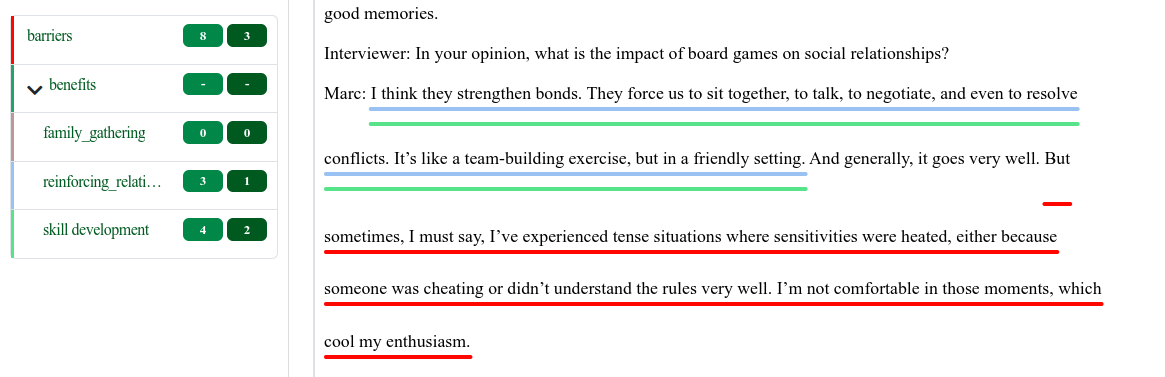
Choose one strategy or the other depending on your preferences. Some people try to reduce the number of coloured stripes on screen, while others prefer the opposite.
Editing Codes#
To modify or remove a code, right-click on an entry in the code list to open the context menu. The following options are available:
- Change the name, colour or hierarchy
- Add a child code
- Dissociate this code from a parent, if applicable
- Merge the code with another
- Delete the code
Warning: Merging codes is an irreversible operation that results in the loss of information associated with the merged codes as well as their descendants.
Choose a Code Colour#
The colour chosen when creating a code is used to highlight the corresponding passages in the documents. Right-clicking on a code listed in the codes tab allows you to change its colour.
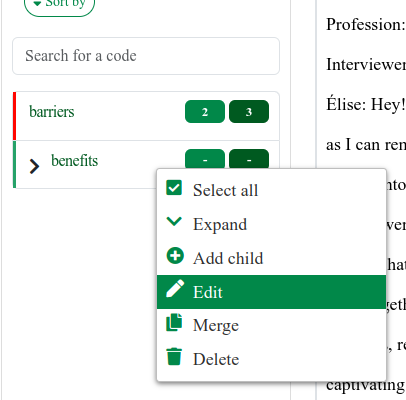
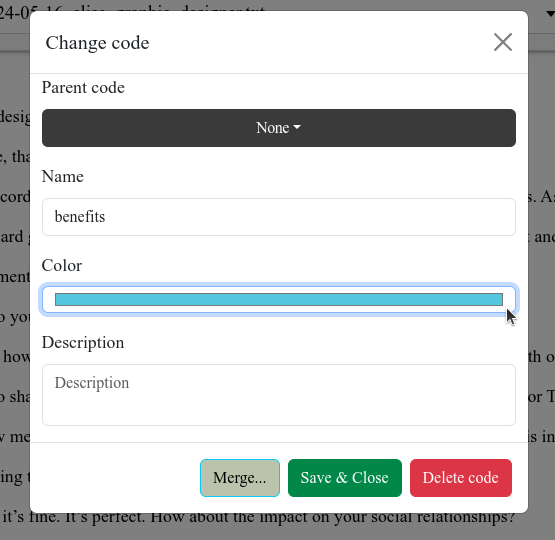
Note: Codes imported from an earlier version of the software that did not support this feature will be assigned the default colour (black).
Merging Codes#
If you notice that two codes refer to the same phenomenon, you can merge them.
For example, upon realizing that the proper names Clark Kent and Superman refer to the same person, you might want to gather into a single box all the passages you had coded with one name or the other, before learning this.
Right-click on a code and use the context menu to select the merge option.
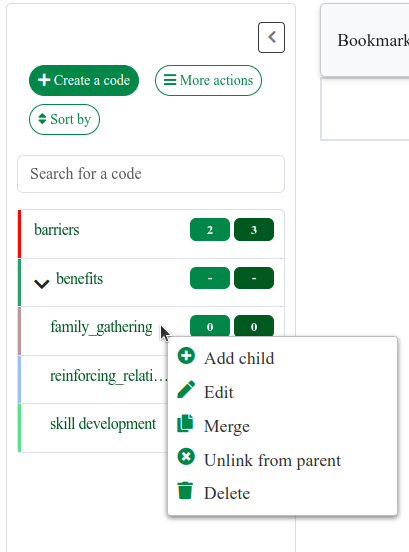
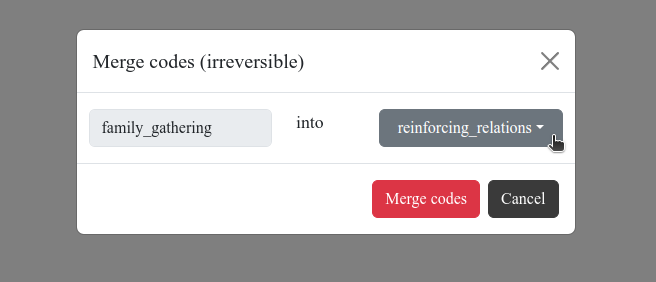
Warning: Merging codes is irreversible. You will lose the information associated with the merged codes as well as their hierarchical relationships.
Importing a Codebook#
You can import a pre-existing codebook into LibreQDA using the button intended for that purpose in the Project tab. The only accepted format is .csv, with codes arranged in rows and their information in columns.
If necessary, export a codebook to have a template to fill in. Here is the expected format (column names must be identical).
| tag | description | color | parent | number of highlights |
|---|---|---|---|---|
| perceived obstacles | Difficulties encountered by participants | #e66100 | ||
| lack of equipment | Absence of adequate equipment (computer, connection, workspace) | #f2a65a | perceived obstacles | |
| social isolation | Feeling of isolation linked to remote work or distance learning | #f2a65a | perceived obstacles | |
| coping strategies | Means used by participants to deal with the obstacles | #5ab598 | ||
| ... | ... | ... | ... |
Advanced use: Experiment with importing an existing codebook to speed up the mass definition of hierarchical relationships, colour assignment or the addition of descriptions.
After creating a few codes, export a .csv file of your codebook (see How to Export Material?), make the desired changes, and re-import it into your project. Do not change the column titles.
